

Last updated October 31, 2026
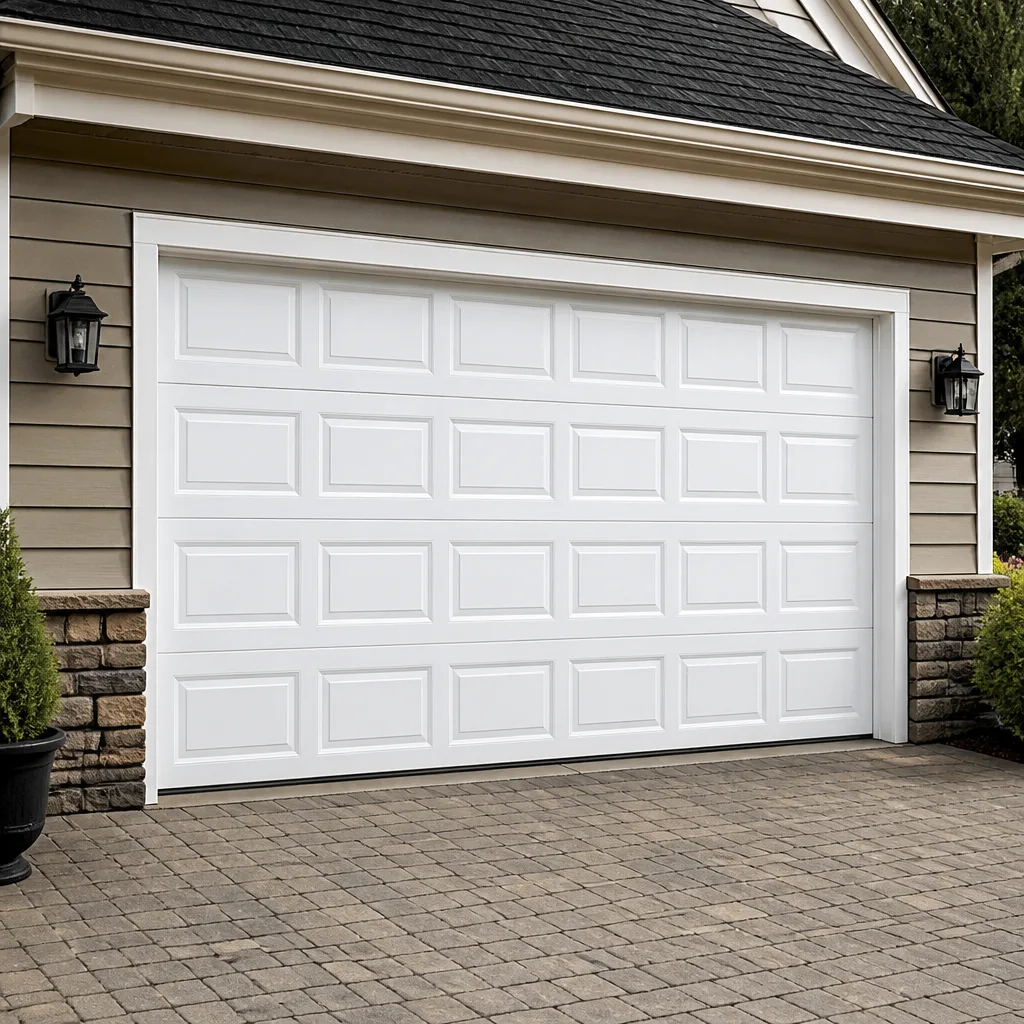 Raised-panel steel
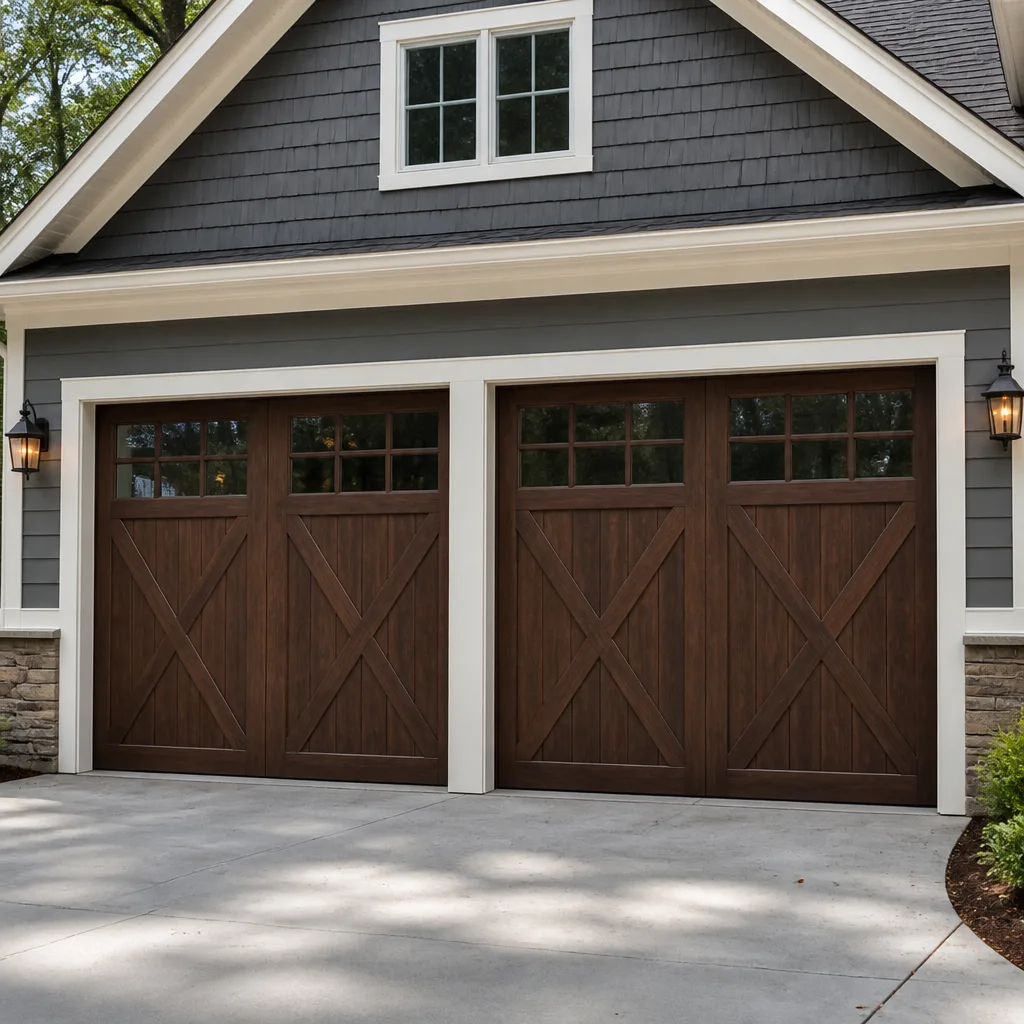 Carriage house
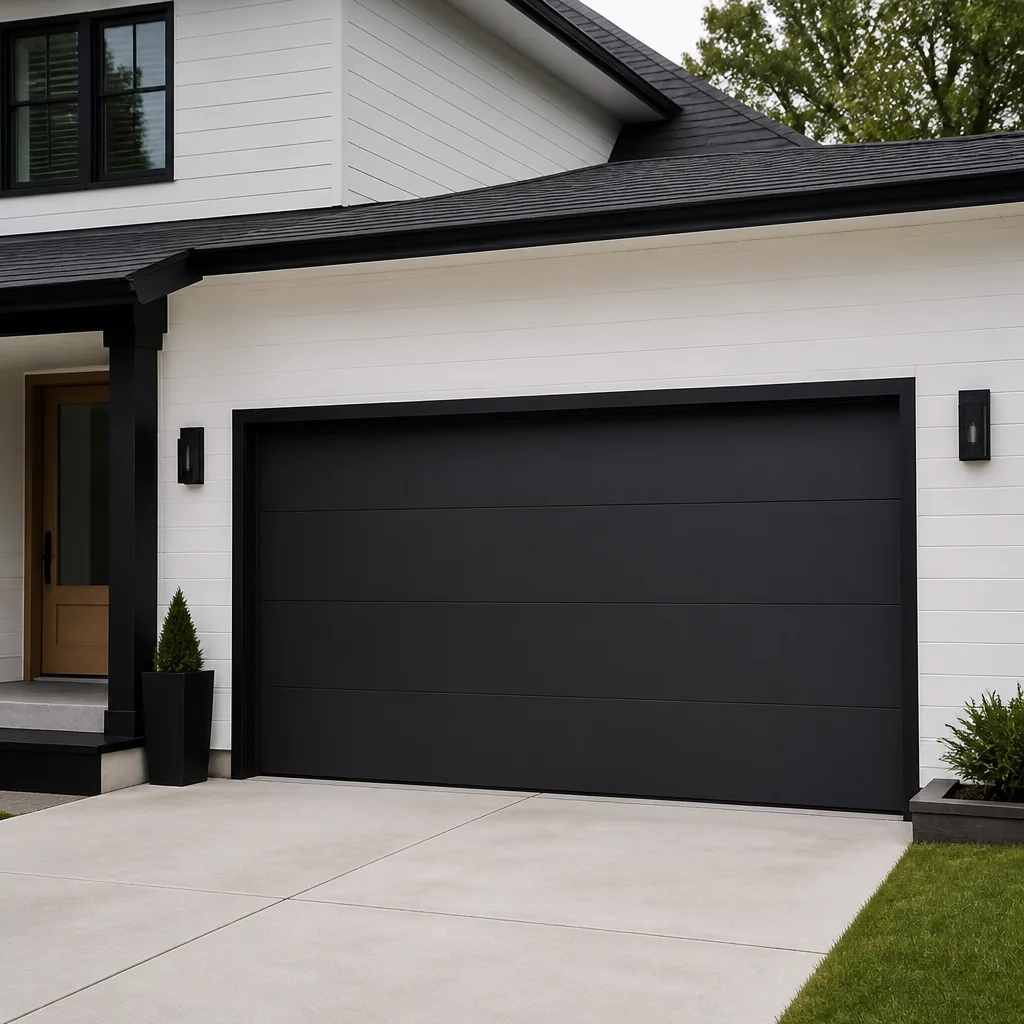 Modern flush
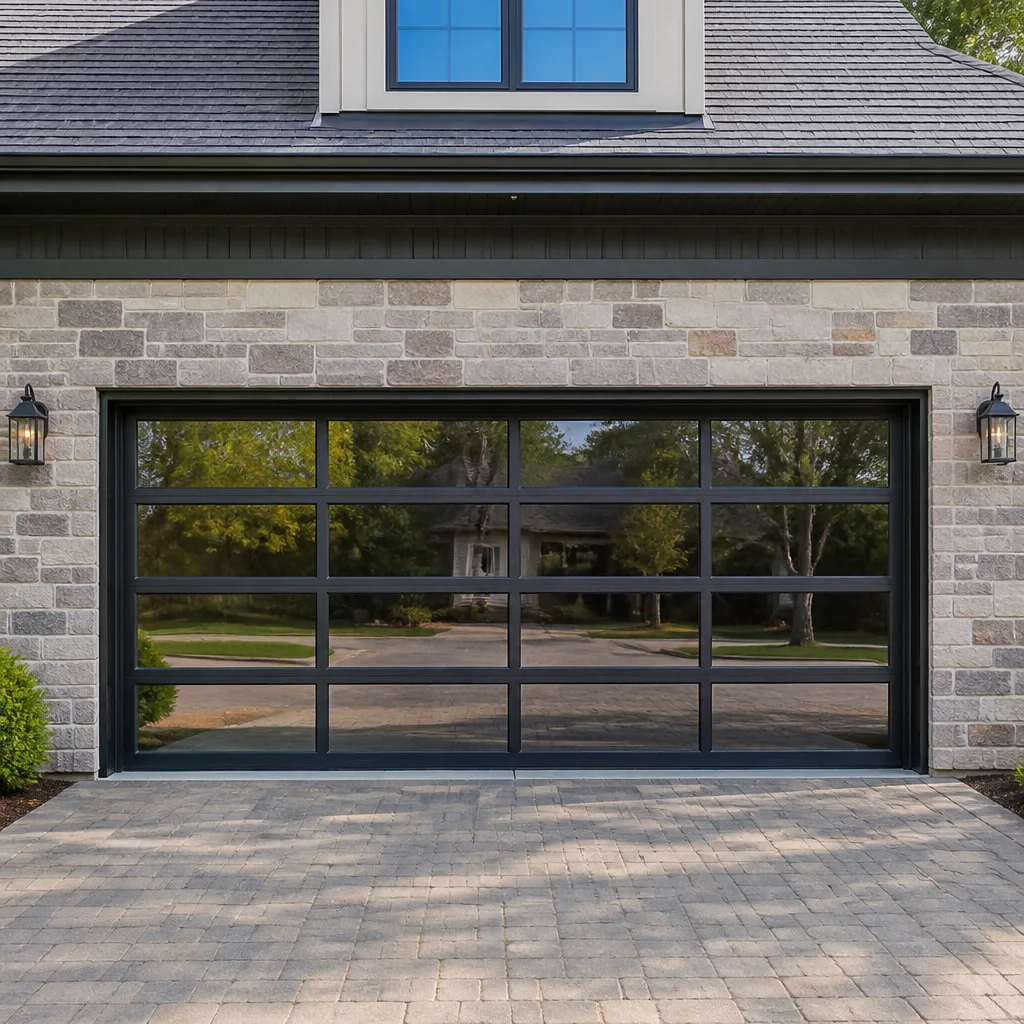 Full-view glass
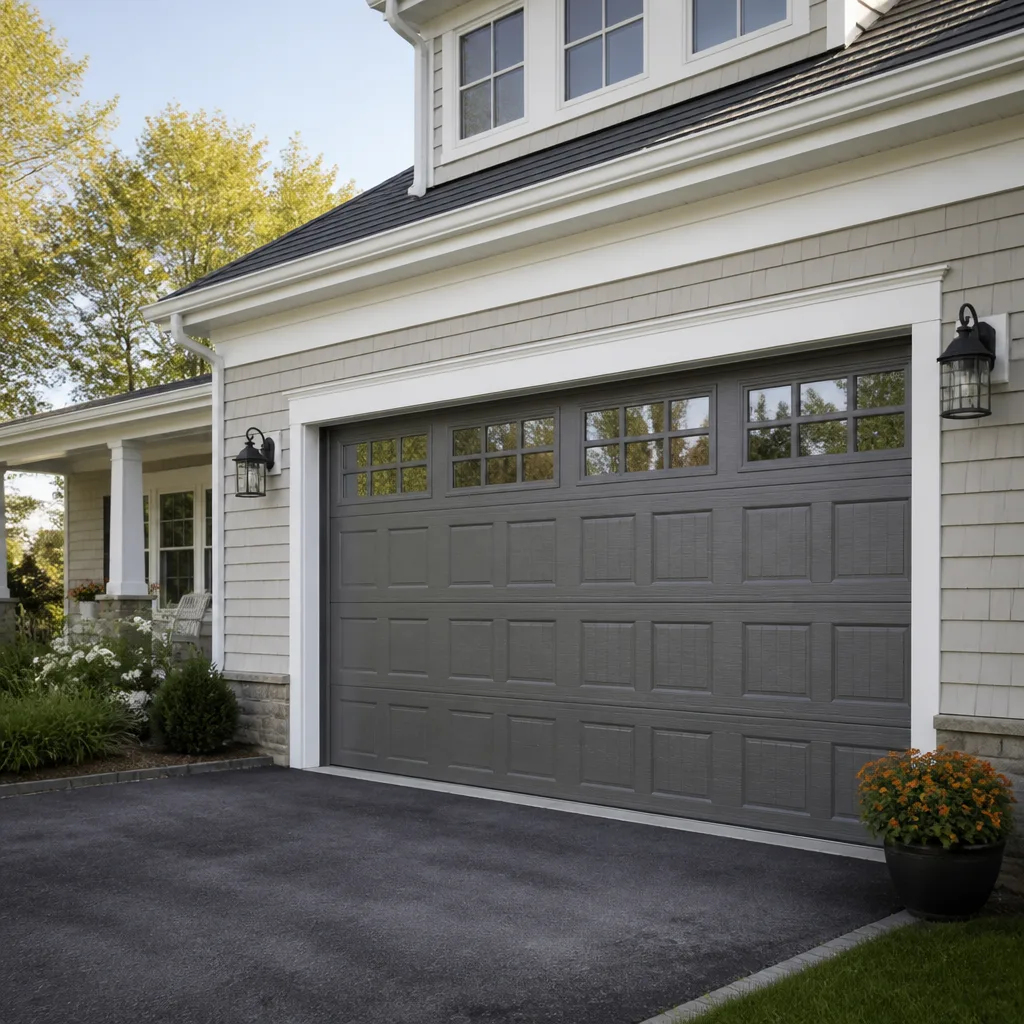 LiftMaster openers
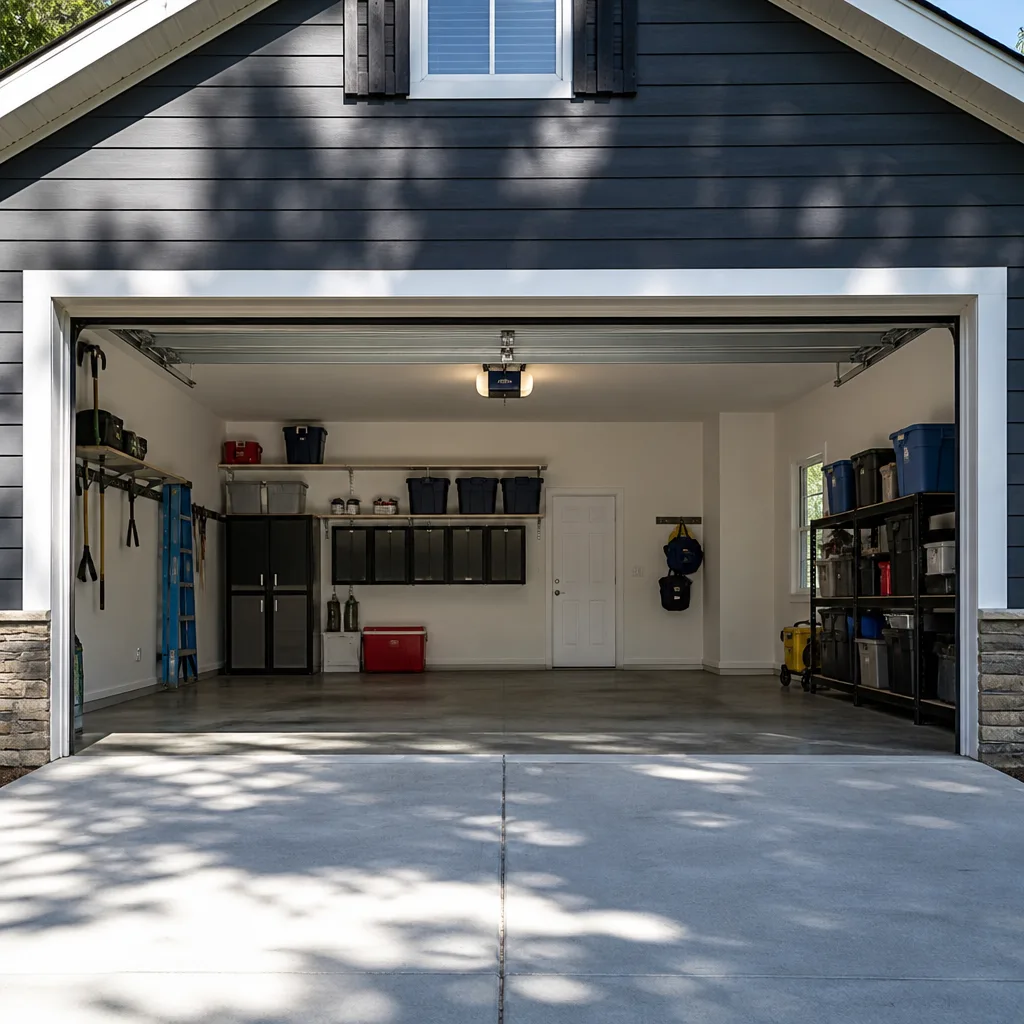 Chamberlain openers
Full 25-point door and opener safety check with every visit - springs, cables, rollers, tracks, and your LiftMaster or Chamberlain opener included
You get a price before we start. It does not change when the truck arrives.
Get your free estimateGarage Door Repair Troubleshooting: Common Problems and How to Fix Them
Disconnect your opener right now and try to lift your garage door by hand. If it won’t move freely, your problem has nothing to do with the opener – and the technician you’re about to call for a “motor issue” is going to discover that in the first 30 seconds. This is the single most common misdiagnosis we see in Pasadena, and it costs homeowners real money: they buy a new opener when the actual fault is a worn spring or a misaligned track. What follows is the exact diagnostic sequence our technicians use when they roll up to a house in Pasadena for our Garage Door Repair services. It separates opener problems from door problems, identifies the nine most common failure modes by sound and resistance, and shows you which steps are safe to perform yourself – and which ones should stop at visual inspection. By the end, you’ll know what’s wrong before you pick up the phone, and you’ll be able to describe it precisely enough to get an accurate quote on the first call.
Styles & brands we work with
Quick Answer
Garage door troubleshooting starts with the manual lift test: disconnect the opener and lift the door by hand. If it’s heavy, stuck, or slams down, the problem is mechanical (springs, cables, tracks, or rollers) – not the opener. If it moves freely by hand but won’t respond to the remote, wall button, or keypad, the problem is electrical or opener-related. Matching the right symptom to the right system eliminates guesswork, wasted parts, and unnecessary service calls. In Pasadena, where temperature swings and coastal humidity affect metal components year-round, this distinction matters even more than it does inland.
Table of Contents
- The Manual Lift Test: The First Diagnostic Step
- Symptom-to-Cause Matrix: The 9 Most Common Failure Modes
- Opener Problems vs. Door Problems: How to Tell Them Apart
- Diagnosing by Sound and Resistance
- Step-by-Step: Safe Diagnostics You Can Do Today
- When to Stop and Call a Pro: Injury-Risk Steps
- Common Mistakes to Avoid
- When to Call a Professional
- Frequently Asked Questions
- The Bottom Line
The Manual Lift Test: The First Diagnostic Step
Every garage door has an emergency release cord – usually a red handle hanging from the opener rail. Pull it down and toward the door. That disengages the opener carriage from the door. You are now testing the door itself, with no motor involved.
Here’s what to do and what each result means:
- Pull the release cord. The door should now move independently of the opener rail. You may hear a small click as the carriage disengages.
- Lift the door by hand from the center bottom handle (or the bottom edge if there’s no handle). It should move smoothly with moderate effort. A properly balanced door weighs about 8 to 15 pounds of lifting force at the bottom edge, even though the door itself may weigh 150 to 250 pounds.
- Lift it to waist height and let go. A healthy door will stay at waist height or drift very slightly. It should not shoot upward or slam downward.
If the door is heavy to lift, stops at a point and won’t go further, or slams down when you let go, the problem is mechanical. Your opener is probably fine and has likely been fighting a door that’s out of balance for weeks. In Pasadena, we see this pattern often on older homes in neighborhoods like Bungalow Heaven and Madison Heights, where original torsion springs from the 1970s or 1980s have finally failed.
If the door lifts smoothly by hand and stays where you put it, but won’t respond to the remote or wall button, the problem is in the opener system: logic board, safety sensors, wall control, remote, or power supply. Keep testing from there.
The manual lift test takes under two minutes and does more diagnostic work than an hour of guesswork. Our technicians start every service call this way, whether the customer describes the issue as a “broken spring” or an “opener that just hums.” It tells us which system to inspect first, and it tells you whether the parts you’re about to order on a hunch are even the right category.
Symptom-to-Cause Matrix: The 9 Most Common Failure Modes
Here are the nine failure modes we encounter most often on garage doors in Pasadena, each matched to the symptom you’ll actually notice and the system responsible, drawn from our Garage Door Warning Signs: A Pasadena Homeowner’s Reference Guide. No overlap, no ambiguity. When you’re on the phone with a technician, you can use the exact wording below and skip the back-and-forth.
| Symptom | What You Notice | Most Likely Cause | System Involved |
|---|---|---|---|
| Door won’t open, feels extremely heavy | You pull the release cord and can barely lift the door. It may rise a few inches and stop. | Broken torsion or extension spring | Mechanical (springs) |
| Door jerks or binds partway up | Door starts moving, then catches, then jumps. May make a grinding metallic sound. | Bent track, misaligned track, or worn rollers | Mechanical (tracks/rollers) |
| Door is crooked when opening or closing | One side is higher than the other; the door tilts visibly as it travels. | Snapped cable or broken spring on one side | Mechanical (cables/springs) |
| Opener runs but door doesn’t move | Motor hums or runs normally but the door stays in place. | Disconnected carriage, stripped drive gear, or broken coupler | Opener (drive mechanism) |
| Door reverses immediately after touching the floor | Door closes, touches the ground, then re-opens on its own. | Limit switch out of adjustment or obstructed photo-eye system | Opener (travel/limit settings) |
| Door reverses partway down, without touching anything | Door starts to close, gets 6 – 18 inches down, then reverses. | Photo-eye misalignment, dirty lens, or broken sensor wire | Opener (safety sensors) |
| Remote works up close, not from the street | You must be inside the garage or very close for the remote to function. | Weak remote battery, bad receiver antenna, or interference | Opener (radio/receiver) |
| Door opens a few inches then stops, opener light blinks | Door moves slightly and halts. Opener flashes a diagnostic code. | Safety sensor obstruction or force setting too sensitive | Opener (safety system/force limits) |
| Door sags in the center when open | The top panel sits unevenly or flexes downward in the middle of the opening. | Worn extension springs, stretched cables, or failing panel reinforcement | Mechanical (springs/cables/panels) |
One of the reasons we specialize in eight specific brands – LiftMaster, Chamberlain, Genie, Clopay, Amarr, Wayne Dalton, Craftsman, and Raynor – is that different manufacturers have distinct failure patterns. A Wayne Dalton door with a TorqueMaster spring system, for instance, doesn’t fail the same way a Clopay door with a standard torsion tube does. Knowing which brand is on your garage tells us what to expect before we even arrive.
Opener Problems vs. Door Problems: How to Tell Them Apart
The mistake that costs Pasadena homeowners the most isn’t a broken part – it’s replacing the wrong system. A perfectly good opener gets condemned because the springs underneath it failed months ago. Or a solid door gets a new cable kit when the real fault is a burned-out logic board in the opener.
Here’s the rule: the opener is the muscle, the door is the skeleton. If the problem only appears when the motor runs, the opener is the suspect. If the problem appears even when you move the door by hand, the door hardware is the suspect.
Let’s make that concrete.
Signs the problem is the DOOR (mechanical):
- The manual lift test fails: the door is heavy, stuck, or unbalanced when you lift it after pulling the release cord.
- The door is visually crooked in the opening, even a small amount.
- You hear grinding, squealing, or popping from the tracks, hinges, rollers, or springs – not from the opener motor housing.
- The door jerks or hops as it travels, whether the opener is pulling it or you’re moving it by hand.
- You can see a gap in a spring, a frayed cable, or a roller that’s popped out of its track.
Signs the problem is the OPENER (electrical/mechanical in the motor unit):
- The manual lift test passes: the door moves smoothly and balances correctly by hand.
- The door responds to the wall button but not the remote, or vice versa.
- The opener hums but the door doesn’t move, and the door is light and easy to lift manually.
- The opener light blinks in a diagnostic pattern (check your manual – blink codes differ by brand; LiftMaster and Craftsman use one set, Genie another, and Raynor openers have their own).
- The door reverses immediately after the opener starts moving it, but operates normally by hand.
Here’s a Pasadena-specific note: several neighborhoods in the city sit on older electrical panels, and the garage circuit is sometimes shared with other loads. A door that works intermittently and fails only during peak hours or when a space heater is running in the garage is often an electrical supply problem, not a door or opener fault. Before you replace an opener for intermittent operation, check whether the outlet it’s plugged into is on a GFCI circuit or a shared breaker that trips intermittently.
Diagnosing by Sound and Resistance
You can learn more from thirty seconds of careful listening than from an hour of disassembly. Sound tells you where a failure lives. Resistance tells you how severe it is. Combine the two and you have a professional-grade diagnosis without touching a single tool.
Sounds and what they mean:
- A single loud bang or pop coming from the spring area, followed by the door feeling extremely heavy: a torsion or extension spring has broken. This is the one sound you should treat as an immediate stop-work signal. Leave the door alone and call a professional – under tension, a broken spring still stores enormous energy and moving the door can cause the spring to shift unpredictably.
- A rhythmic grinding or scraping that tracks with the door’s movement: a roller bearing is failing, or a track has been knocked out of alignment and the roller is dragging along the metal rail.
- A high-pitched squeal from the opener motor: the drive belt or chain is slipping, or the opener’s internal gears are stripping. If the door is also heavy during the manual lift test, the squeal is the opener crying for help as it fights a failing spring.
- A rattle that gets louder when the door moves faster: loose hardware – a hinge bolt, a track bracket, or a panel fastener. This is the most common and least dangerous sound on this list.
- A hiss or soft thunk from the opener at the top or bottom of travel: the limit switch is allowing the opener to run slightly too far, or the door is hitting the floor or the stop bolt too hard. Adjustable, but the adjustment needs to be made correctly or the door will reverse mid-cycle.
Resistance and what it means:
When you run the manual lift test, pay attention to where the resistance changes.
- Uniform heavy resistance through the whole travel: both springs have likely failed or lost significant tension, or the door is off its tracks.
- Resistance that starts halfway up and gets worse toward the top: the track is bent or a roller is binding at a specific point.
- The door is easy at the bottom but suddenly drops or launches upward as it passes the halfway point: one spring is broken or stretched and the remaining spring is overpowering the door in the upper half of the travel.
- Resistance at the very bottom, only when the door is almost closed: the weatherstrip is dragging, the bottom seal is caught, or the floor has shifted (we see this in Pasadena homes built on expansive soil, where minor seasonal movement is normal in certain neighborhoods).
The combination of a bang, a jerky lift, and a door that’s crooked in the opening is the classic broken-spring triad. Homeowners who call us in Pasadena describing all three rarely need us to spend more than a few minutes confirming the diagnosis. When you can describe these three symptoms on the phone, you’ll get a more accurate estimate on the first call, because the person on the other end knows exactly what the job entails.
Step-by-Step: Safe Diagnostics You Can Do Today
There are exactly five diagnostic procedures a homeowner can safely perform without specialized training. Follow these in order. If you reach a step where the answer is “yes, that’s the problem,” stop and call someone who knows the brand of door you have, or consult How to Hire a Garage Door Contractor in Pasadena: A Step-by-Step Guide.
Step 1: The Manual Lift Test
You already know this one. Pull the red release cord, lift the door by hand, and note whether it’s balanced, heavy, or jerky. This is the foundation of every other step.
Step 2: The Spring Visual Inspection
Look above the door. Do not touch anything. For a torsion spring system (the spring on a metal tube above the center of the door), look for a visible gap in the coil – torsion springs break in two, and the break is usually easy to see if you’re looking for a gap. For an extension spring system (two springs running horizontally along the tracks on either side of the door), look for a stretched or separated coil, a dangling safety cable, or a spring that’s still connected at one end but hanging loose at the other. If you see a gap or separation, do not attempt to move the door, do not try to open or close it with the opener. That spring is under residual tension and the door is not safe to move.
Step 3: The Track and Roller Visual Check
With the door closed, look up both tracks from the bottom to the top. You’re looking for a gap between the track and the wall, a visible bend or dent in the track rail, a loose bolt where the track brackets attach to the wall, or a roller that has come out of the track. Any of these means the door cannot travel safely. Do not run the opener while a roller is out of its track.
Step 4: The Sensor Alignment Test
This one is safe and specific to openers with photo-eye safety sensors – the two small units mounted near the floor on either side of the door opening. With the opener plugged in, check whether both sensors have solid indicator lights (usually green and amber, but colors vary by brand). If one light is blinking or dark, the sensors are misaligned, dirty, or unhooked. Try gently wiping the lens with a dry cloth and checking that the units are pointing directly at each other. Minor nudge adjustments to the mounting bracket are usually safe. If the light stays off after cleaning, the sensor wire may be broken – that’s a technician’s job but it’s a simple, low-cost repair.
Step 5: The Remote and Wall Button Cross-Test
If the door works from the wall button but not the remote, the problem is in the remote, the opener receiver, or the antenna. Check the remote battery first – a weak battery produces the classic “works from inside the garage but not from the street” pattern. If the battery doesn’t fix it, and the door works from the wall button, the remote itself may need replacing or the receiver’s antenna wire may be damaged. If the door works from the remote but not the wall button, the wall control is the fault – the button itself, the wiring behind it, or a stuck contact. This is opener work, and brand matters: LiftMaster and Craftsman wall controls aren’t always interchangeable, and neither are the remotes for Genie and Raynor openers.
When to Stop and Call a Pro: Injury-Risk Steps
Some garage door components are under enough tension to kill or maim. This isn’t dramatic language – it’s the reality of working with torsion springs that store hundreds of pounds of force, and cables that run over pulleys at high tension when the door is moving. In Pasadena, building codes require garage door work to meet specific safety standards, and that standard exists because people have been badly hurt by DIY spring replacements.
Stop at visual inspection only for these components:
- Torsion springs (the coiled springs on the tube above the door): Never attempt to loosen, adjust, or replace these yourself. Never put a tool on the winding cone. A snapped torsion spring has already released some of its energy, but the remaining tension can still cause serious injury if the spring shifts while you’re near it.
- Extension springs and their safety cables: These stretch and store energy along the horizontal tracks. If one breaks, the safety cable should contain it, but if that cable is missing or frayed, the broken spring becomes a projectile risk.
- Lift cables (the two cables that run from the bottom brackets up to the drums above the door): If one has snapped, the other is carrying the full weight of the door, and it can fail at any moment. Do not stand directly under a door that has a broken cable, and do not attempt to re-cable it yourself. The cable is under tension and removing the wrong bolt can release it violently.
- Any adjustment that requires loosening a bolt on the bottom bracket: The bottom bracket is where the lift cable attaches and where the door’s weight transfers to the cable. It’s under constant load. Do not loosen it.
The right move with any of these is the same: leave the door in place, keep children and pets out of the garage, and call someone who does this for a living. At Stonewall Garage Door Repair home of all things garage door, we’d rather you make that call before the door gets worse – or before someone gets hurt. In Pasadena, our model is straightforward: driveway diagnosis, clear explanation, a written price, and we only start work after you’ve agreed to the number.
Common Mistakes to Avoid
- Replacing the opener when the springs have failed. The opener is the muscle, not the skeleton. If your door is heavy, a new opener will burn out its drive gear in months, and you’ll have spent $400 to $800 fixing the wrong system. Do the manual lift test first, always.
- Spraying WD-40 on everything that squeaks. WD-40 is a solvent, not a lubricant. It’ll quiet a roller for about three days and then leave the bearing dryer than before. Use a silicone-based garage door lubricant on rollers, hinges, and springs, and leave the tracks dry.
- Adjusting travel or force limits without reading the manual. Every opener brand has its own adjustment procedure, and guessing can make the door reverse mid-travel or fail to reverse when it should. LiftMaster and Craftsman openers adjust differently than Genie and Raynor models. If you don’t have the manual, look up the exact model number.
- Ignoring a slow, jerky door because “it still closes.” A door that’s fighting itself is wearing out every roller, hinge, and cable in the system. You’re converting a $250 spring replacement into a $900 repair package. In Pasadena, where many homes have wooden doors from the 1960s and 1970s, old panels are heavier than modern steel doors, and the wear accelerates faster.
- Trying to straighten a bent track with a hammer. A bent track is a sign of impact or rust. Hammering it “straight” leaves micro-fractures and doesn’t fix the alignment. The track should be replaced or professionally re-aligned, or it’ll keep binding forever.
- Running the opener while the door is visibly crooked. If one cable has snapped or one spring has failed, running the opener makes the other cable and spring work double. You can turn a one-part failure into a two-part failure in a single cycle.
- Assuming all remotes are interchangeable. They aren’t. A Raynor remote won’t talk to a LiftMaster opener and vice versa. If you’re replacing a remote, match the brand and the opener’s frequency or protocol. If the opener predates rolling-code technology (roughly pre-1993), the remote replacement market is limited, and an opener upgrade may be the more sensible fix.
When to Call a Professional
Call a technician when the manual lift test fails and you can see or hear a broken spring, snapped cable, or bent track. Call when the door has come off its tracks and is leaning against the garage frame. Call when the opener runs but the door doesn’t move, and you’ve confirmed the door itself moves freely by hand – because that means an internal opener component has failed, and opener internals are brand-specific. Call when you’ve done the safe diagnostics and the answer is still unclear. And call when the door is stuck half-open with a car trapped inside or outside: a door in that position has already lost tension somewhere, and it’s not safe to move manually. Garage Door Repair in Pasadena is our core service area page, and it covers what to expect from a repair visit in this city. We come to your house, diagnose in the driveway, and quote before any work starts. Garage Door Opener Repair in Pasadena is the page to read if your diagnosis points to the opener rather than the door. Both paths start with a phone call. Stonewall Garage Door Repair offers free estimates in Pasadena – call (855) 740-8388.
Frequently Asked Questions
If the opener motor runs but the door doesn’t move, and the manual lift test shows the door is light and balanced, the problem is inside the opener: a stripped drive gear, a broken coupler, or the carriage has become disconnected from the rail. This is an opener repair, not a door repair. If the door is heavy when you lift it by hand, the opener is working but the door is jammed or the springs have failed. In Pasadena, call (855) 740-8388 for a free estimate on either scenario.
A single torsion spring replacement in Pasadena typically falls between $220 and $420 including the spring and labor, depending on the door weight, spring size, and whether one or both springs need replacing. Extension springs run somewhat less. The exact price depends on your door’s brand and weight: a heavy Wayne Dalton wood door needs a heavier spring than a standard Raynor steel door. Get a written quote before work starts – call (855) 740-8388 for a free estimate.
No. Torsion springs store hundreds of pounds of rotating force, and the winding process requires specific tools and training that most homeowners don’t have. Extension springs are less dangerous but can still cause serious injury if the safety cable is missing or installed incorrectly. In most Pasadena homes, spring replacement also requires re-balancing the door so it doesn’t bind. That’s not a DIY project. Call a professional who carries the correct spring for your door.
The two most common causes are misaligned photo-eye sensors and incorrect force settings. Check the sensor lights first: if either is blinking or dark, clean the lens and align the units so they face each other directly. If the sensors are solid but the door still reverses at the same point every time, the force setting is too sensitive or the travel limit is wrong. That’s a simple adjustment for a technician who knows your opener brand.
Standard torsion springs are rated for 10,000 cycles, which translates to roughly 7 to 10 years for a typical Pasadena household that opens the door two to four times a day. Coastal-influenced humidity and temperature swings can shorten that span. If you’re replacing springs, ask about high-cycle springs rated for 25,000 or 50,000 cycles – they cost more upfront but effectively end the failure cycle for most homes.
We work on the brand already on your garage. That means LiftMaster, Chamberlain, Genie, Clopay, Amarr, Wayne Dalton, Craftsman, and Raynor – the eight most-installed equipment lines in the country and in Pasadena. If your door or opener is from a different manufacturer, we’ll tell you honestly before you schedule a visit. Call (855) 740-8388 to confirm your specific model.
The Bottom Line
Garage door troubleshooting comes down to one test and one habit. The test is the manual lift: if the door won’t move freely by hand, the opener is not your problem. The habit is resisting the urge to replace parts on a guess. Most Pasadena homeowners who call us after weeks of frustration could have saved that frustration by spending two minutes on the manual lift test and then describing what they found. The right question isn’t “what part do I need” – it’s “which system has failed.” Answer that, and the repair becomes straightforward. If you’re not sure after going through the steps above, call us. We’ll diagnose in the driveway, quote before we work, and you’ll know exactly what you’re paying for. When you need Garage Door Installation in Pasadena, the same team handles that too – repair now, replacement later, under one name. Stonewall Garage Door Repair – call (855) 740-8388.
Written by the team at Stonewall Garage Door Repair, serving Pasadena since 2013. Explore more guides & resources.
See the difference
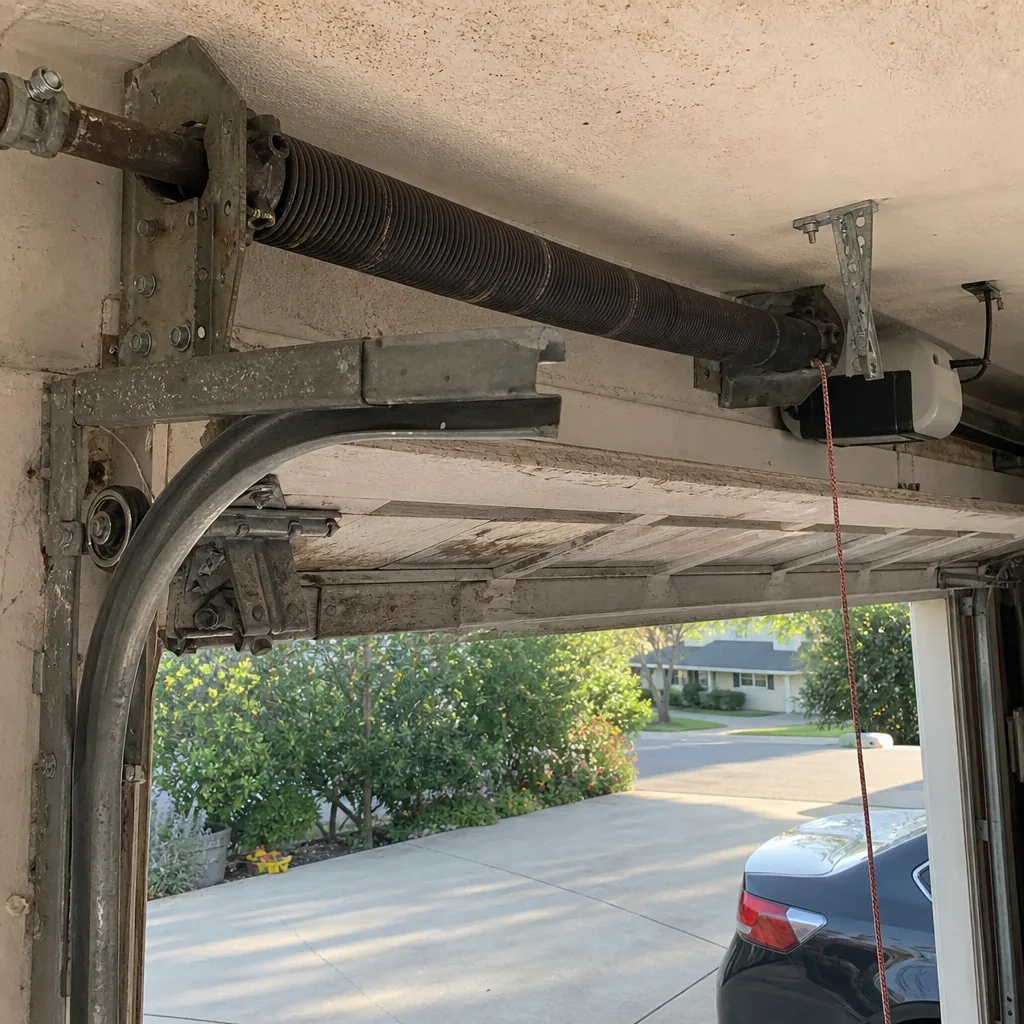 Before
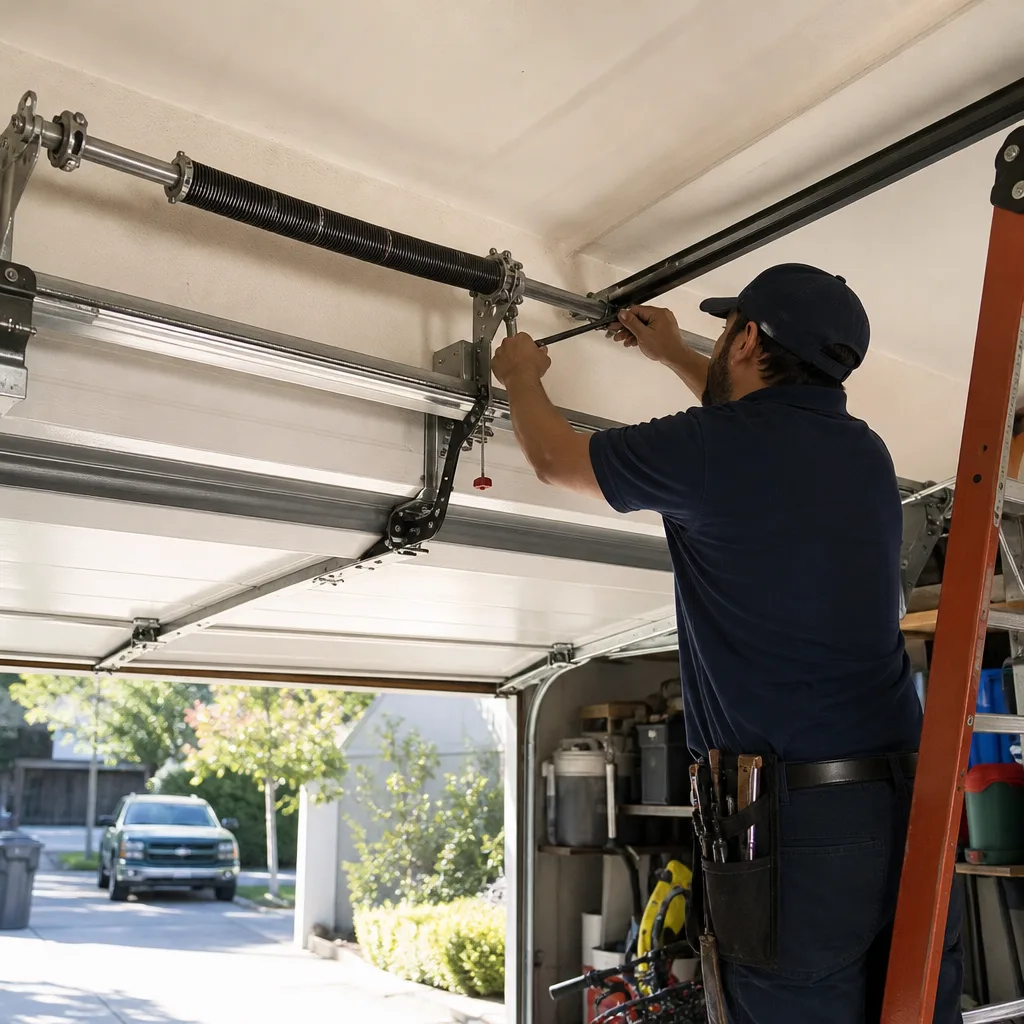 After
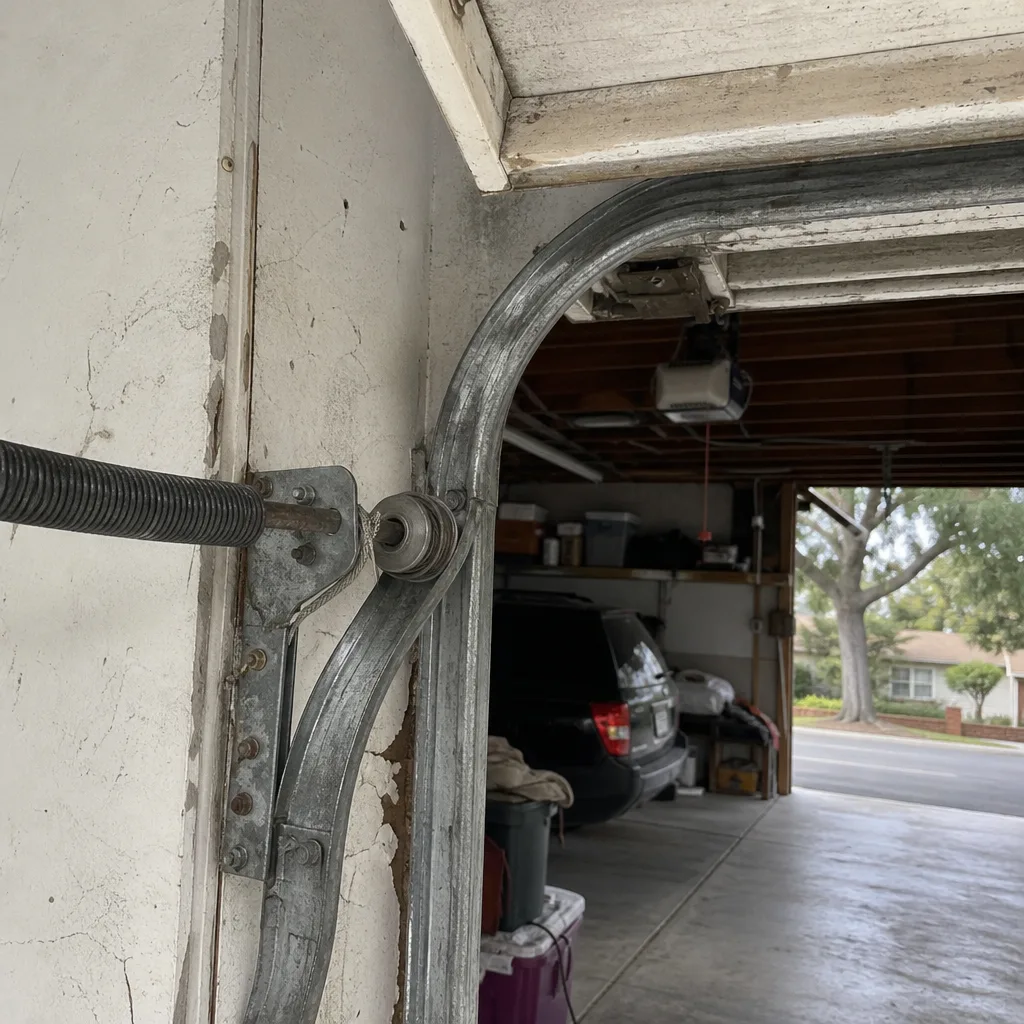 Before
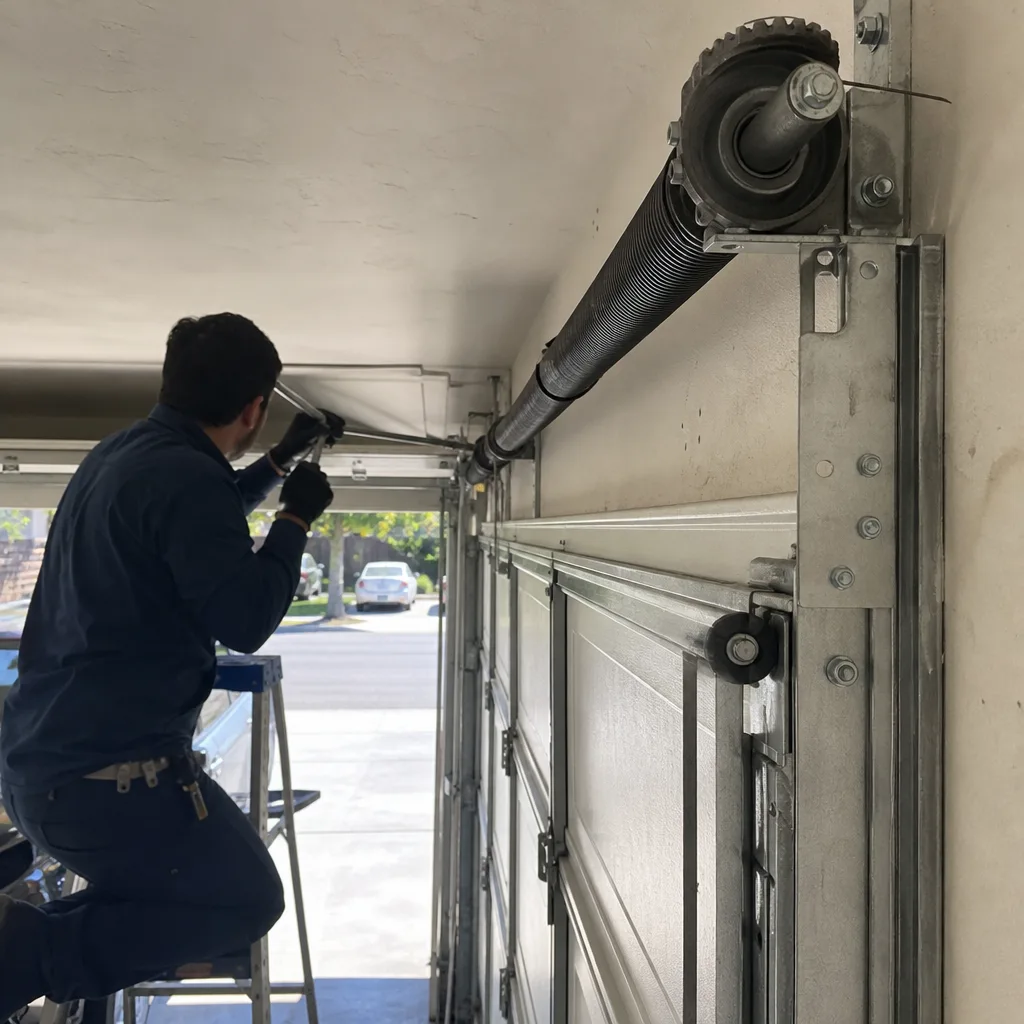 After
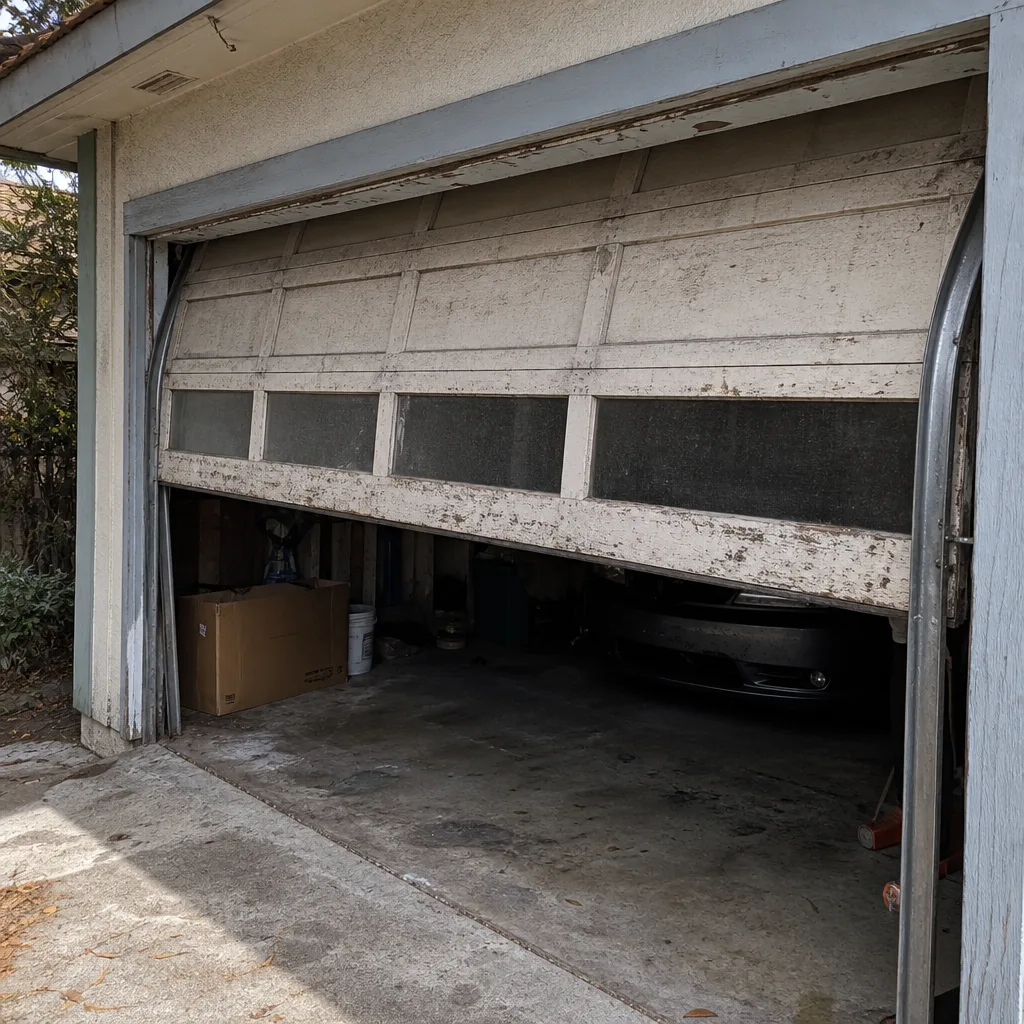 Before
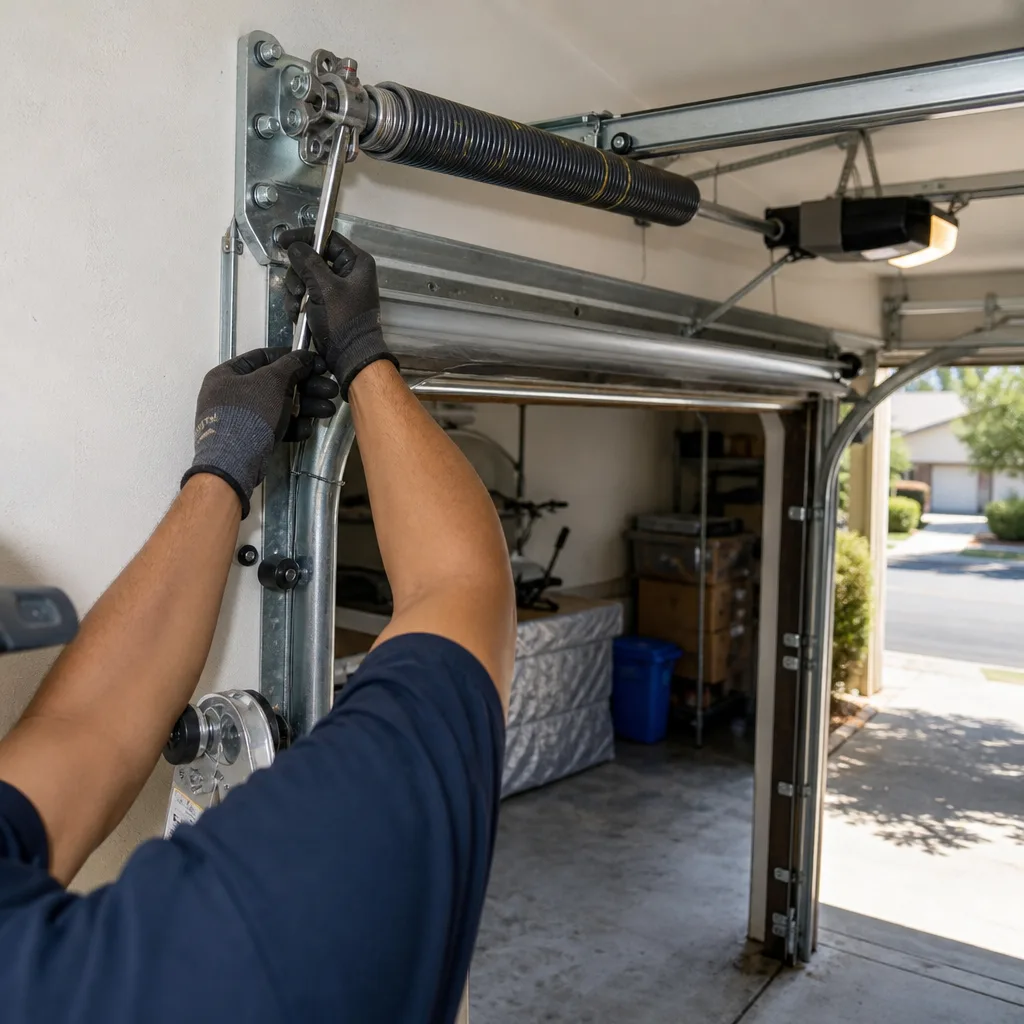 After